

Unlocking the Secrets to the Fastest Invisible Grill Installation Techniques
- Ypl Invisible grill
- Sep 16, 2025
- 3 min read

Invisible grills have quickly captured the attention of homeowners and businesses alike. With their sleek design, they provide safety without interrupting beautiful views. Installing them, however, can seem intimidating. In this guide, we’ll walk through the fastest installation techniques, ensuring safety and aesthetics come together seamlessly.
Understanding Invisible Grills
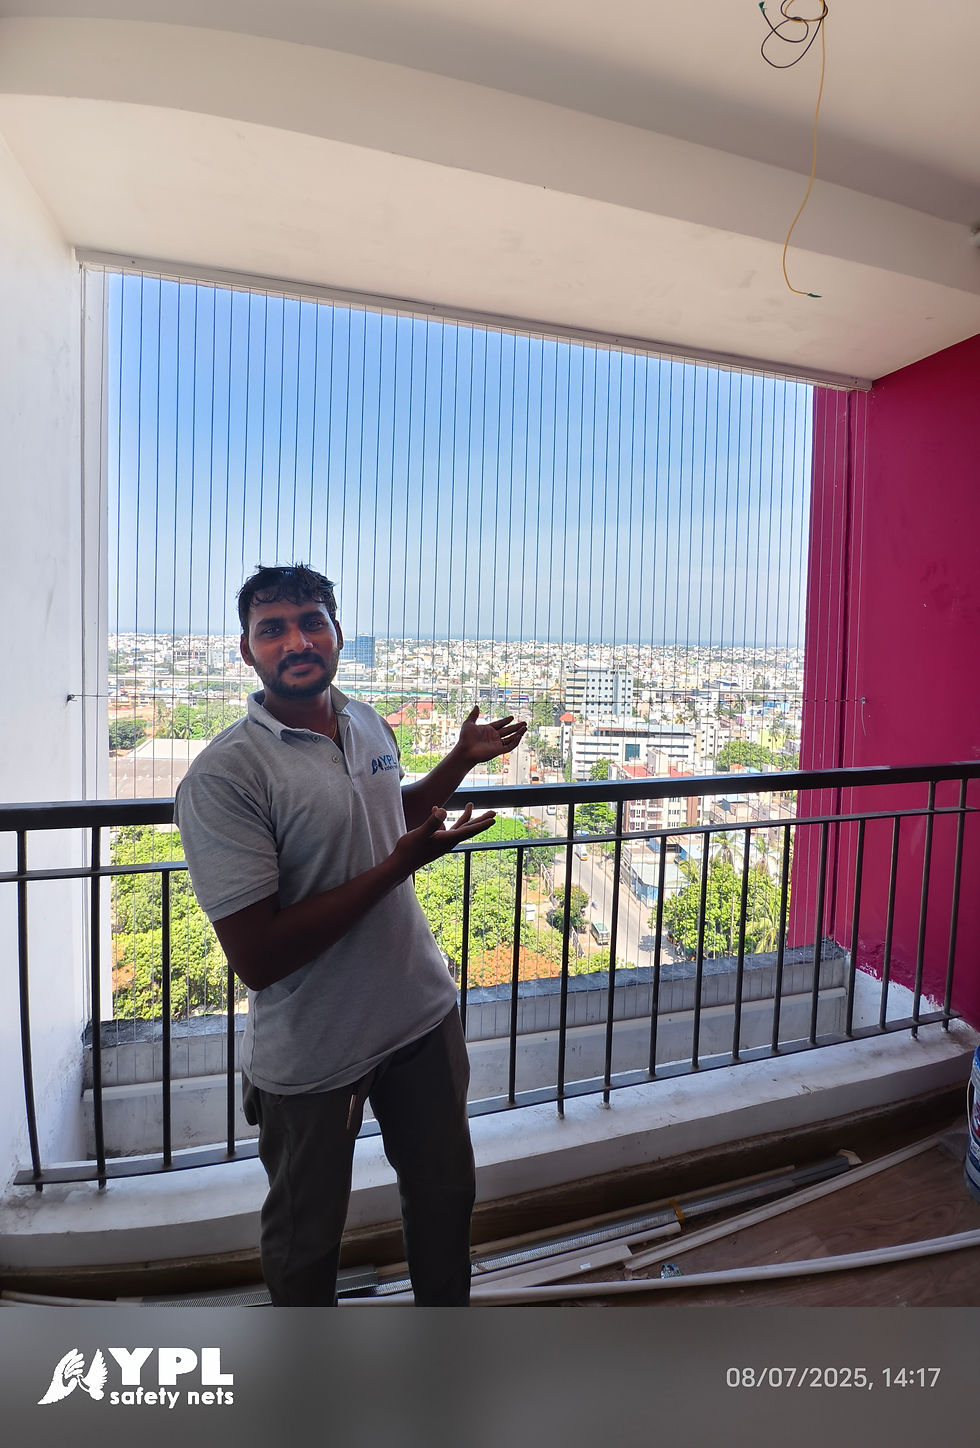
Invisible grills are crafted from high-tensile stainless steel wire, making them nearly invisible from a distance. Their primary role is to maximize safety and security, particularly in high-rise buildings, without blocking sightlines or airflow.
Consider this: in a 2022 survey, over 60% of respondents said they preferred invisible grills over traditional options due to their blend of safety and design. They are an excellent choice for modern architecture, seamlessly integrating into various environments.
Preparing for Installation
Preparation is crucial for a smooth installation. Here’s how to set yourself up for success:
Measure the Area: Use a measuring tape to accurately determine the dimensions where the invisible grill will go. This ensures that you order the right amount of materials. For example, if you have a balcony that measures 10 feet in width and 3 feet in height, you should account for these measurements when sourcing your materials.
Choose the Right Materials: Opt for high-quality stainless steel wires and fittings that can withstand harsh weather. For instance, choosing wire with at least 1.5mm thickness can provide additional durability.
Gather Tools: Before starting, gather all necessary tools, including a drill, screws, anchors, and a level. Being prepared can save you valuable time during installation.
Check Local Regulations: Ensure you are aware of any specific local regulations about safety features like invisible grills. Many areas have guidelines to follow, especially in residential and commercial buildings.
Fast Installation Techniques
With preparation done, let’s discuss various techniques that can speed up your installation process.
1. Pre-Assembly of Components
Pre-assembling various parts can significantly reduce on-site installation time. For instance, assembling frames and fittings before heading to the location can lead to more efficient installation. This technique could cut down installation time by as much as 30%.
2. Use of Templates
Creating templates can also help streamline the process. Cut patterns from cardboard that match the dimensions where the grill will be installed. This method allows for more rapid placement and reduces the amount of remeasuring and marking needed.
3. Efficient Drilling Techniques
Choose appropriate drill bits for the material you’re working with. For drilling into concrete, use a hammer drill to speed up the process. A good-quality drill bit can reduce drilling time by roughly 25%, making your efforts more productive.
4. Teamwork
Working with a partner can make installation much easier. Having someone to hold components while you secure them helps avoid mistakes and speeds up the process, cutting down on frustration.
5. Use of Quick-Dry Adhesives
In certain situations, employing quick-dry adhesives can help speed up installation. Adhesives can fasten components without needing screws, allowing you to set everything up in less time. Always ensure any adhesive is safe for outdoor use, especially in harsh conditions.
Post-Installation Checks
Completing the installation doesn’t mean your work is done. It's essential to verify everything is secure and functions correctly. Here are important follow-up steps:
Inspect the Grill: Check for any loose wires or fittings. Everything should be tightly secured with no gaps present that could pose safety risks.
Test Stability: Gently push against the grill to confirm its stability. A well-installed grill should feel solid and secure.
Clean the Area: Clearing any installation debris improves the overall appearance and enhances safety.
Educate Users: If the grill is installed in a common area, take time to inform users about its purpose and safe usage. This step ensures everyone understands how to enjoy the new feature responsibly.
Final Thoughts
Installing an invisible grill can be straightforward and efficient. With the tips and techniques outlined here, you will be able to achieve a successful installation that enhances security and preserves the beauty of your space. Preparing properly, choosing the right tools, and working collaboratively will yield impressive results.
Investing in an invisible grill means investing in both safety and aesthetics, making it a wise choice for any property owner. With the right approach, you can enjoy all the benefits of an invisible grill sooner than you think.


Comments